When my sister-in-law was visiting before Easter she suddenly needed to create a baby gift at 10 PM on Good Friday. We knew it would be a boy but he did not have a name yet so it had to be a more generic piece of artwork.
I already had a 10” x 10” frame that I picked up at Walmart as a “just in case” frame (you can never go wrong with a square frame) so this was our starting point.
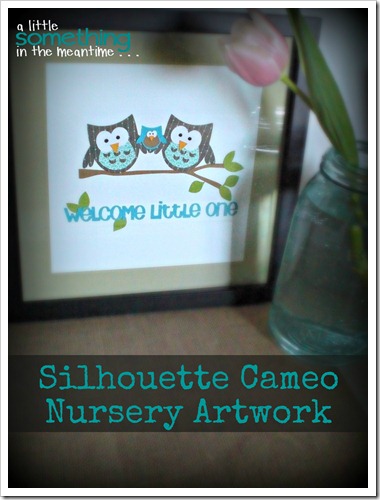
Angela knew that she wanted the artwork to include owls and I had purchased several owl shapes from the Silhouette store for another baby gift so we modified this one.

The great thing about purchasing shapes from the Silhouette store is that they can be modified so easily. All of the different colours you see in the above image are separate pieces when it cuts. You can eliminate and/or resize whatever you want.
In our case, we did not need the hearts but wanted a baby owl to sit between the Mom and Dad. I copied and resized one of the owls to make the baby.
Angela decided that she wanted the artwork to fit into a 7” x 7” opening. Throughout our planning we used a 7” x 7” square on the screen to ensure proper sizing.

Once we had all the pieces that we needed and had chosen our paper colours (boy, was I impressed with my paper selection!), I organized them on the cutting mat to correspond with the way they were laid out on the screen. This is a great way to use up paper scraps from other projects.
We made things easier (and more cohesive) by using the same colour for more than one part (e.g., the baby owl’s tummy and the tree branch).

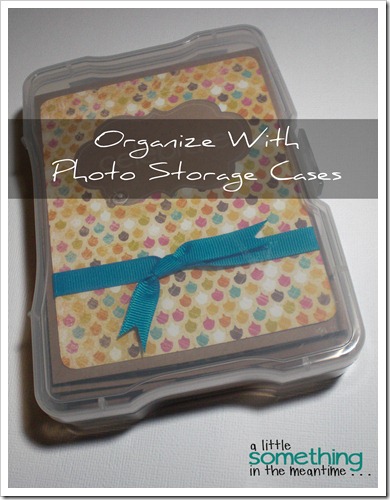
I also cut extras so that I could easily recreate this for another gift in the future. I used my photo storage cases to organize the extra die cut pieces.
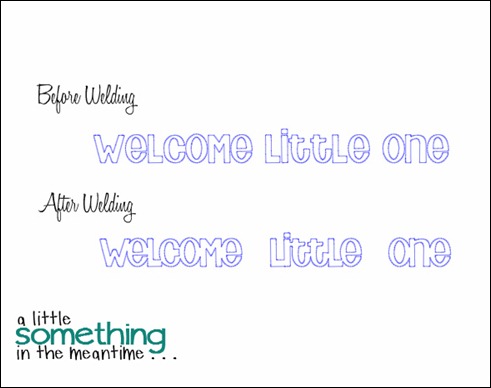
To make things easier when gluing on the sentiment, we picked a font that could be welded together. I used one of my 10 favourite fonts, Too Much Paper.
We used my Silhouette to cut out a 10” x 10” mat with a 7” x 7” opening. It makes framing prints SO easy.
Once all the pieces were cut out, I left Angela to assemble the owls because it was after midnight!

When I woke up, the artwork was already framed with the glass so I had to do my best to photograph it without a glare.
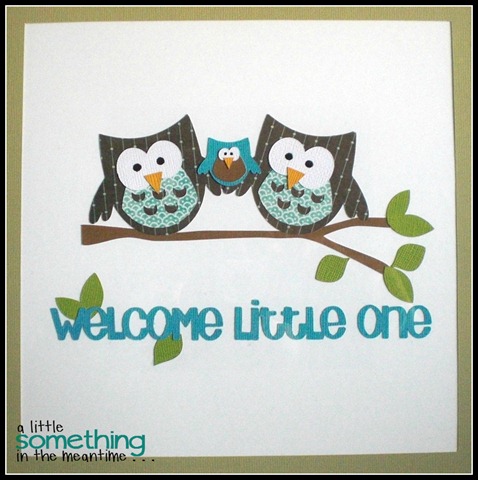
Jacob was born in the early hours of April 7th, 2012, just after Angela finished making this gift. He did not have a name when they went to visit him, so Angela attached a label to the frame backing with his date of birth and a special message from his Aunt and Uncle.

I think we did a fantastic job with what we had available on very short notice!
Linking up to these great parties as well as those on my Link Parties page!
Thank you to all the hosts!